1964 Studebaker Daytona Restoration
Front & Rear Shocks
Tools/Parts required: - 1/4, 1/2, 9/16 inch wrenches
Wire cutters
Liquid wrench
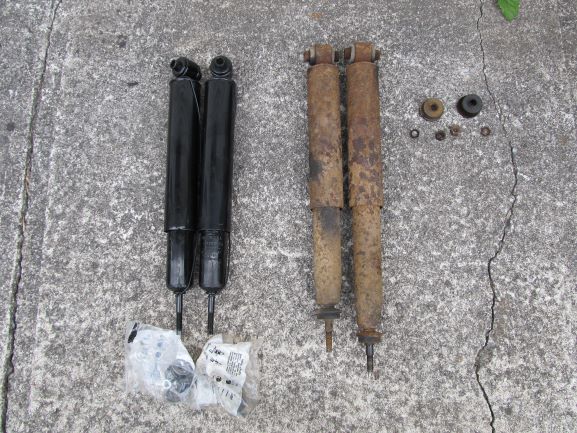
Gabriel Front Shocks - 82087 x 2
Gabriel Rear Shocks - 82103 x 2
or
Classic Rear Shocks 14-6995 x 2 ( Made by Gabriel)
Optional: Car to be up on jack stands or on hoist to better enable you to remove/ install Front /Rear Shocks
Task: Remove Front Shocks
1. start by removing the top nut on the shock
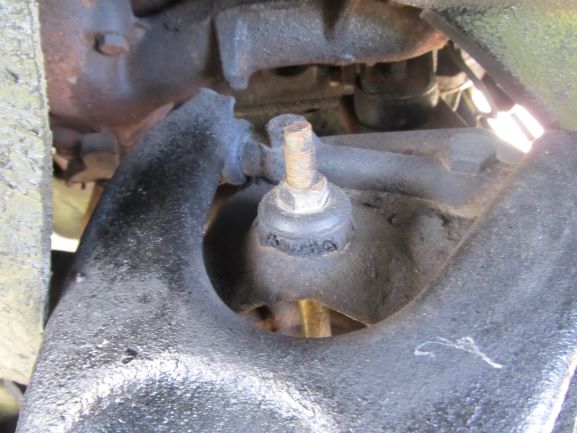
2. Proceed to remove the bottom nut
3. Pull old shock through the bottom hole and discard
4. You can remove the other front shock in the same manner
Note: If it's hard to get off use some liquid wrench to get the nuts off
Task: Install Front Shocks
1. Put new shock on by threading the top portion into the hole and secure the bottom two bolts
2. Proceed to tighten the top nut and ensure it is on their good and tight
3. grab the new shock and ensure it is secure so it can do its job properly
Task: Remove Rear Shocks

1. Proceed by spraying the top two bolts and bottom nuts with Liquid wrench and let sit for 30+ minutes
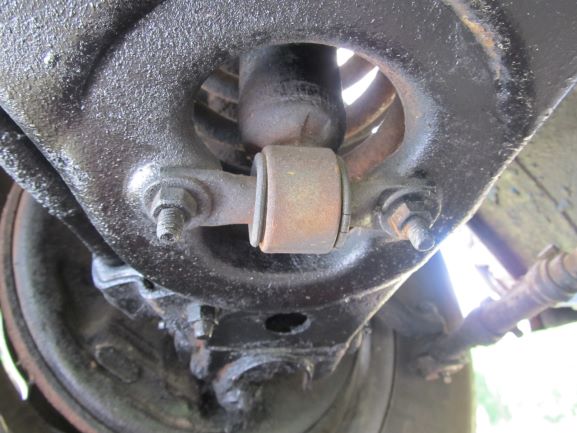
2. Using a box end wrench take off the bottom nut first
3. Then using a shot socket wrench and box end wrench remove the top bolt/nut
Note : These bolts & nuts will sometimes be rusted on so use 6 sided box end wrench or sockets only
Once you have the shock off lubricate all bolts and nuts
4. You can remove the other rear shock in the same manner
Task: Install Rear Shocks
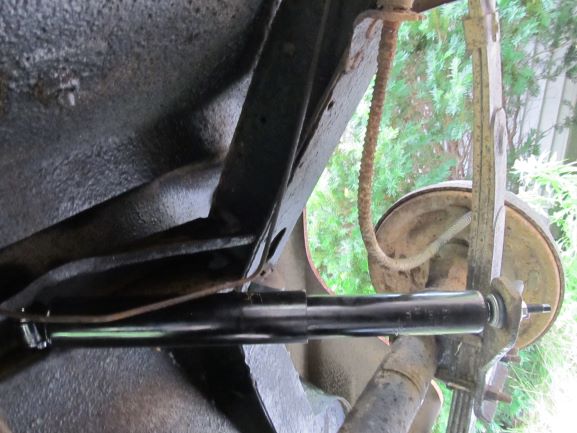
1. Install the new shock by bolting the top portion first - fully tighten
2. Then compress the shock and thread the bottom portion into the hole and secure with nut
3. Grab shock to check tightness to ensure it is fully secure
4. You can install the other new rear shock in the same manner

1964 Daytona Restoration