1964 Studebaker Daytona Restoration
Transmission
![]()
Tools & Supplies Needed
1/2 inch wrench
1/2 inch socket, extension and ratchet
Large Crescent Wrench
Soft Rubber Mallet
Large flat-tipped screwdriver
Large Oil Pan
Long small funnel
5 Qts of Dexton ATF
180 grit sandpaper
Gasket scrapper/putty knife
Tube of Black Gasket Maker
Black Semi-gloss Rust Paint
Trans oil pan gasket
Task: Inspect and/ Service Transmission
The Daytona had a "Flightomatic" Automatic Transmission built by Borg-Warner. These Transmissions
were used by Studebaker from 1956-1966. The Transmission was working when put in storage many years ago
but was caked in dirt and the ATF was very old and needed to be replaced
Step 1 - Remove Oil Pan - I put the front end up jack stands and put oil pan underneath the Trans oil Pan. I proceeded to loosen the large nut
on the Dipstick extension pipe at the rear of the oil pan. Fully remove this large nut and turn the extension pipe out of the way
so he can remove all 14 oil pan bolts. Let the ATF drain out into the oil pan until it stops and then proceed to remove all
14 oil pan bolts with a 1/2 in socket & ratchet. Remove the one at the front last in order for the pan to tilt forward
and drain any remaining ATF into the pan. Remove last bolt and if required tap with soft rubber mallet or screwdriver
to carefully take off the oil pan.
Step 2 - Clean and Paint Oil Pan - Clean up the inside and outside of oil pan with varsol. Remove all remnants of the old gasket
with a putty knife or scrapper. Prepare outside for black semi-gloss rust paint. Once the oil pan is thoroughly cleaned of
all dirt and rust, proceed to paint. Let dry.
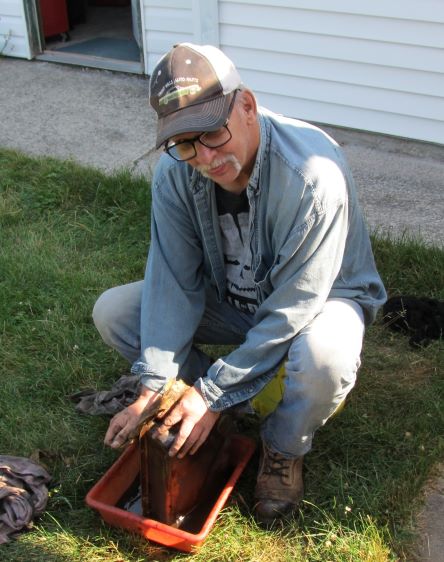
Step 3 - Clean Trans Oil Pan Filter - Remove the Oil Pan filter by moving
the retaining clip and pull it down to remove ensuring you understand on to re-install it Thoroughly clean in Varsol
and let dry. Reinstall ensuring that the filter is properly installed by having both large and small pipes are in their respective
holes. Attach the filter clip and recheck to ensure it is secure.
Step 4 - Prepare surface for new gasket - I then proceeded to go under the Daytona and clean off all remnants
of the gasket on the Trans Body. Ensure all surfaces are clean in prep to receive new gasket Once the oil pan is dry
I put Gasket maker on the gasket area and then attached the pan seal. I then got under the car and
applied the gasket maker on the Trans body gasket surface area.
Step 5 - Reinstall Trans Oil Pan - I proceeded to bolt on the oil pan by inserting the 1/2 in pan bolts at all four corners
loosely and the remaining 10 in random order. Then attach the Dipstick extension pipe by pushing the large nut all the way
forward and screw by hand. Never force and ensure to line up the nut to the oil pan properly and slowly turn
with large crescent wrench also ensuring if it goes too tight back off and try again until it is properly tightens up all the way.
Proceed to tighten all 1/2 in bolts until secure and then recheck the large Extension Nut.
Note: if these bolts and large Extension nut are not tighten properly the ATF will leak out gradually whether its 2 days
or 2 months. Once everything looks good under the car proceed to pout in the Dexron ATF down the Trans dipstick tube
using a long narrow funnel. Should take around 5 Quarts but check the dipstick and if at the full mark let sit and when you start
the motor the ATF with circulate through the torque converter once in drive and then you can put back in Park
and add more ATF as required - Never overfill
These Transmissions are bulletproof and if the levels are properly maintained & the car is driven properly
they normally last a very long time. I rebuilt our 1963 GT Hawk 289 engine at 105K and it's
Flightomatic Automatic Transmission has not be touched other then normal maintenance. 58 years
old and still working fine - Bulletproof

1964 Daytona Restoration