
1963 Studebaker Champ Restoration
Body
Task: Installed Front Fenders
Attached Front fenders with help as this is a two person job. Each fender needs 2 threaded bolts
(top & bottom), 4 threaded screw bolts with washer (bottom & inner fender) & 3 x Fender Shims. Try
fender for fit and remove any imperfections on the cab body to ensure proper fit. Have helper hold fender
in place firmly and bolt top of fender in cab ensuring that the shim is in place. If more shims are required
do so to ensure the the gap between the door and fender is big enough to ensure smooth opening and closing
of the door. Bolt in the two other bolts and also the 3 bolts for the inner fender. Snug up alternately until the
top of the fender is in line with the cab and also a maximum gap of approx 3/16 of a inch. Tighten all bolts
until very tight and check alignment of all parts to ensure it is fitted properly
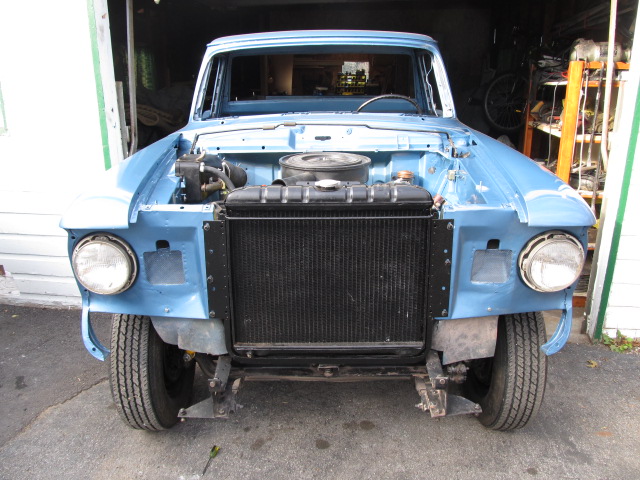
Task: Attach Front Radiator Support
Once the front fenders are properly lined up and secure then you can proceed in attaching the two fenders
together at the front with the Radiator support bracket. You will need help with either a cargo strap or a
helper so you can bring the two fenders close enough so they line up with the bolts holes in the front. Install
the six bolts with washers/nuts securely. Tighten and then install radiator by inserting 6 radiator bolts on
the inside. These may be difficult if using non EOM bolts as the stock bolts have a smaller nub on the end
which makes it easier to insert in the hole and tighten up. I had to tap the bottom bolts in slightly to get
them started. Once the radiator is secure you can install the radiator hoses top and bottom. Ensure to use
new hoses with springs inside along with new clamps.
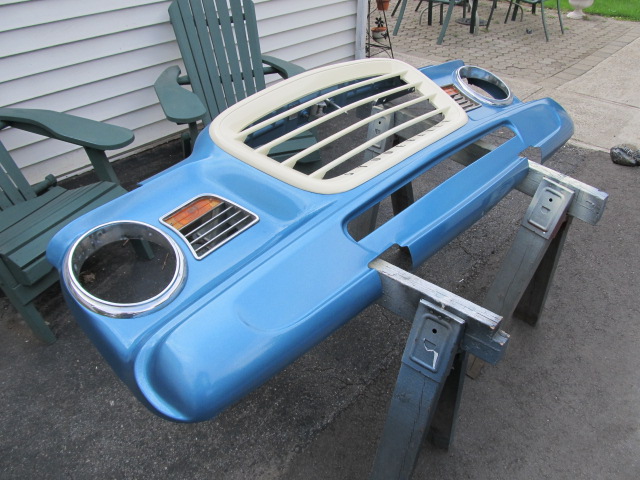
Task: Attach Front Radiator Grille Panel
The first step it to sand and primer the front body panel in preparation for final painting and assembly
after painted in primer I painted it in 1963 Studebaker Blue Mist Metallic. I repainted the front grille with
recreational white metal paint. I re-assembled as per above. When installing front grille be careful to not scratch you
new paint job as the bolts are short and hard to line up.
The Front Radiator Grille panel is secured to the front of both front fenders by 14 Body bolts and 5/16in Speed Nuts.
To help insert all of the Body bolts can be secured you must ensure that the inner fenders are properly secured to the radiator support
that the bolts line up with the speed nuts and holes provided. If they are not you will have a very difficult time getting all 14 bolts secured.
I used a cargo strap around both font fenders and cranked up it so I could bolt the inner fenders to the radiator support in the proper position.
Once all lined up I secured the top 4 bolts to the inner fenders and then worked on the 4 bolts inside the fender above the headlight buckets.
These were the most difficult and once all are started then you can fully secure them and they start on the lower 3 bolts on each fender.
You can now install the front bumper which is secured by 6 bumper bolts, 3 on each side. The front license bracket can now be installed.
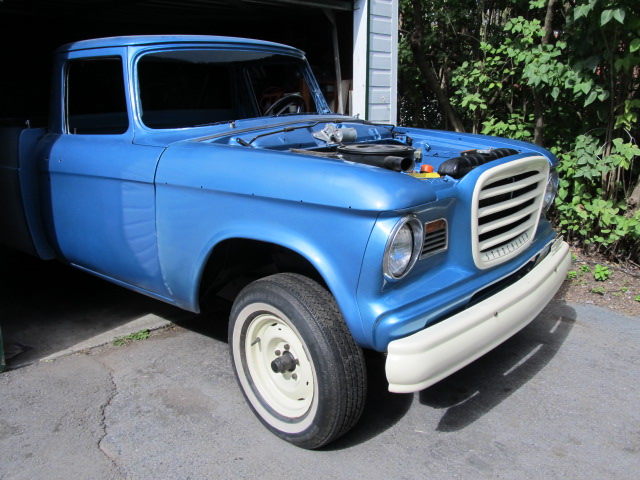
Front Radiator Grille Panel & Front bumper installed
Task - Prepare and install hood
Next step is to paint the hood in primer in prep for final paint job in final colour
Hood was wet sanded with 400 grit sandpaper until all was very smooth
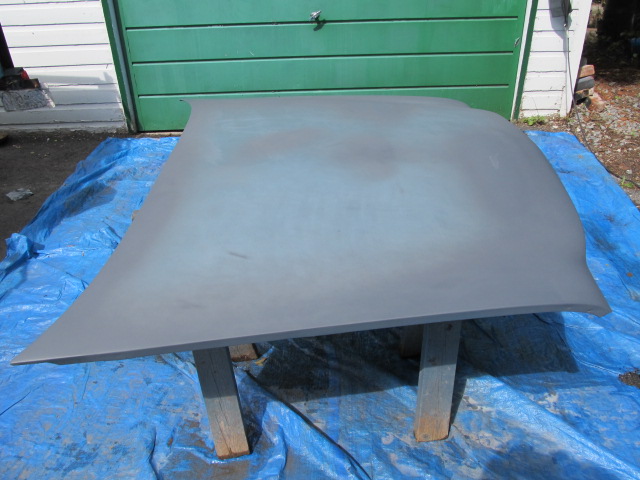
Both sides have to be sanded and primed and then finally painted in desired colour
At this time you can cut and install the hood insulation using spray glue. Once painted wait for 24 hrs minimum to install hood
First have assistance to install hood as this is a two person job. Hood is secured by 4 nuts (2 per side with 4 flat washers) at the rear of hood.
Once they are secured you will adjust the hood by loosening and tighten the 6 bolts (3 per side) that secure the hood hinge to the body.
Make sure to line up the hood catch with the front hood latch and check to see if all gaps are even. Attach the two hood springs after you adjust the
hood properly and the hood safety latch. Take you time to ensure that your new paint job doesn't get wrecked
Task: Paint Cab Interior, Exterior and Engine Compartment
In order to install engine compartment parts and inside the interior I needed to paint the front cab both
inside and out. I initially bought 1 gallon of Studebaker P6354 Blue Mist Metallic and used my compressor with a
HVLP Spray gun at 90 lbs pressure using an in-line oil & water separator. Preparation is everything and makes the
difference between a poor or good paint job. Ensure your compressor has an in-line oil & water separator to avoid getting
water on your paint job. If not familiar with painting then get it done by someone who does. I initially painted the Cab and other
body parts with two coats and used 400 grit wet/dry between coats. I will need to do it another 2-3 coats to get the desired finish.
Once dry you can start to install the many engine bay and interior parts.
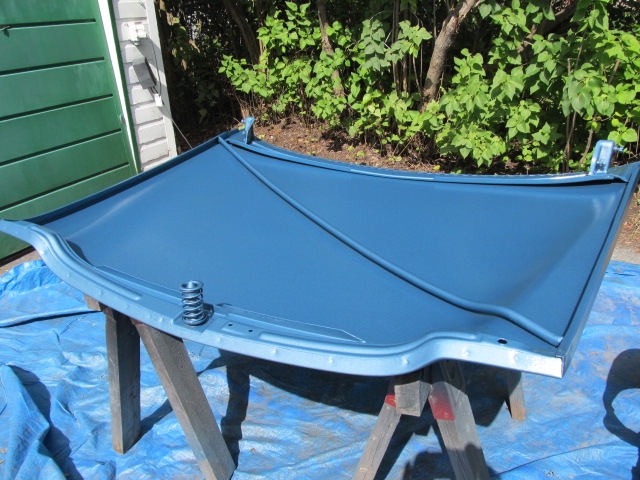
Task - Paint Outside of Pickup Box and Tailgate
Next step was to paint the rest of the pickup box and rear tailgate area. Initially painted two coats and turned out good but will need to do
some more sanding, fine bodywork to get rid of the very minor dents and a couple of more coats to get that final glass finish.

Ensure properly sanding of all body parts with 400 wet/dry sandpaper to get a very smooth finish

Urethane Paint was mixed to a 8 parts Base, 4 parts reducer and 1 part Hardener ratio. Paint each coat and
let stand for 24 hrs. Sand to a very fine finish between coats to take your time to get out all imperfections.
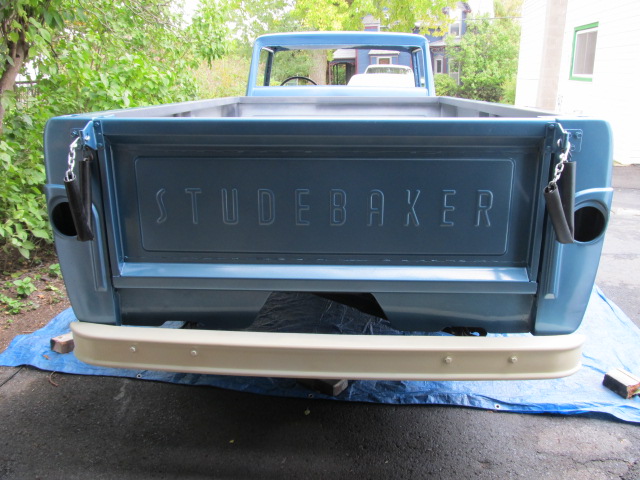
Rear and front Bumpers were done with Rust Paint in Recreational White

Champ Restoration