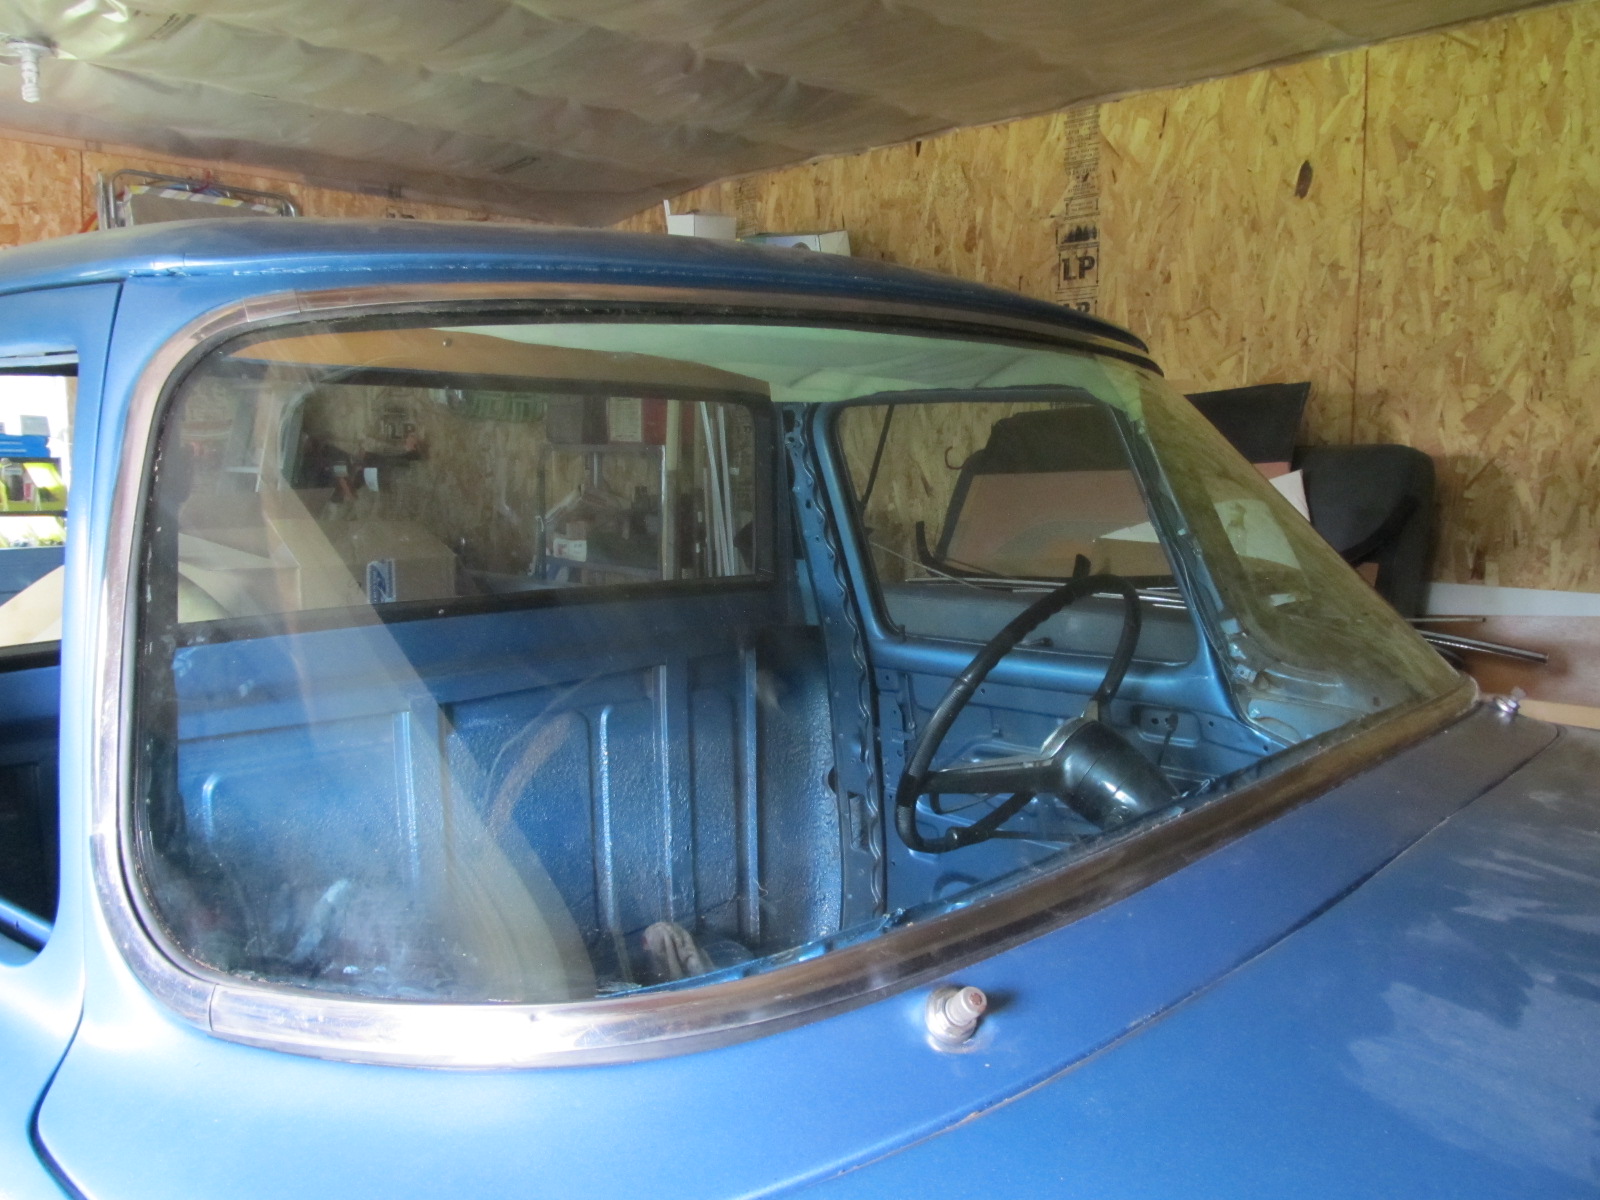
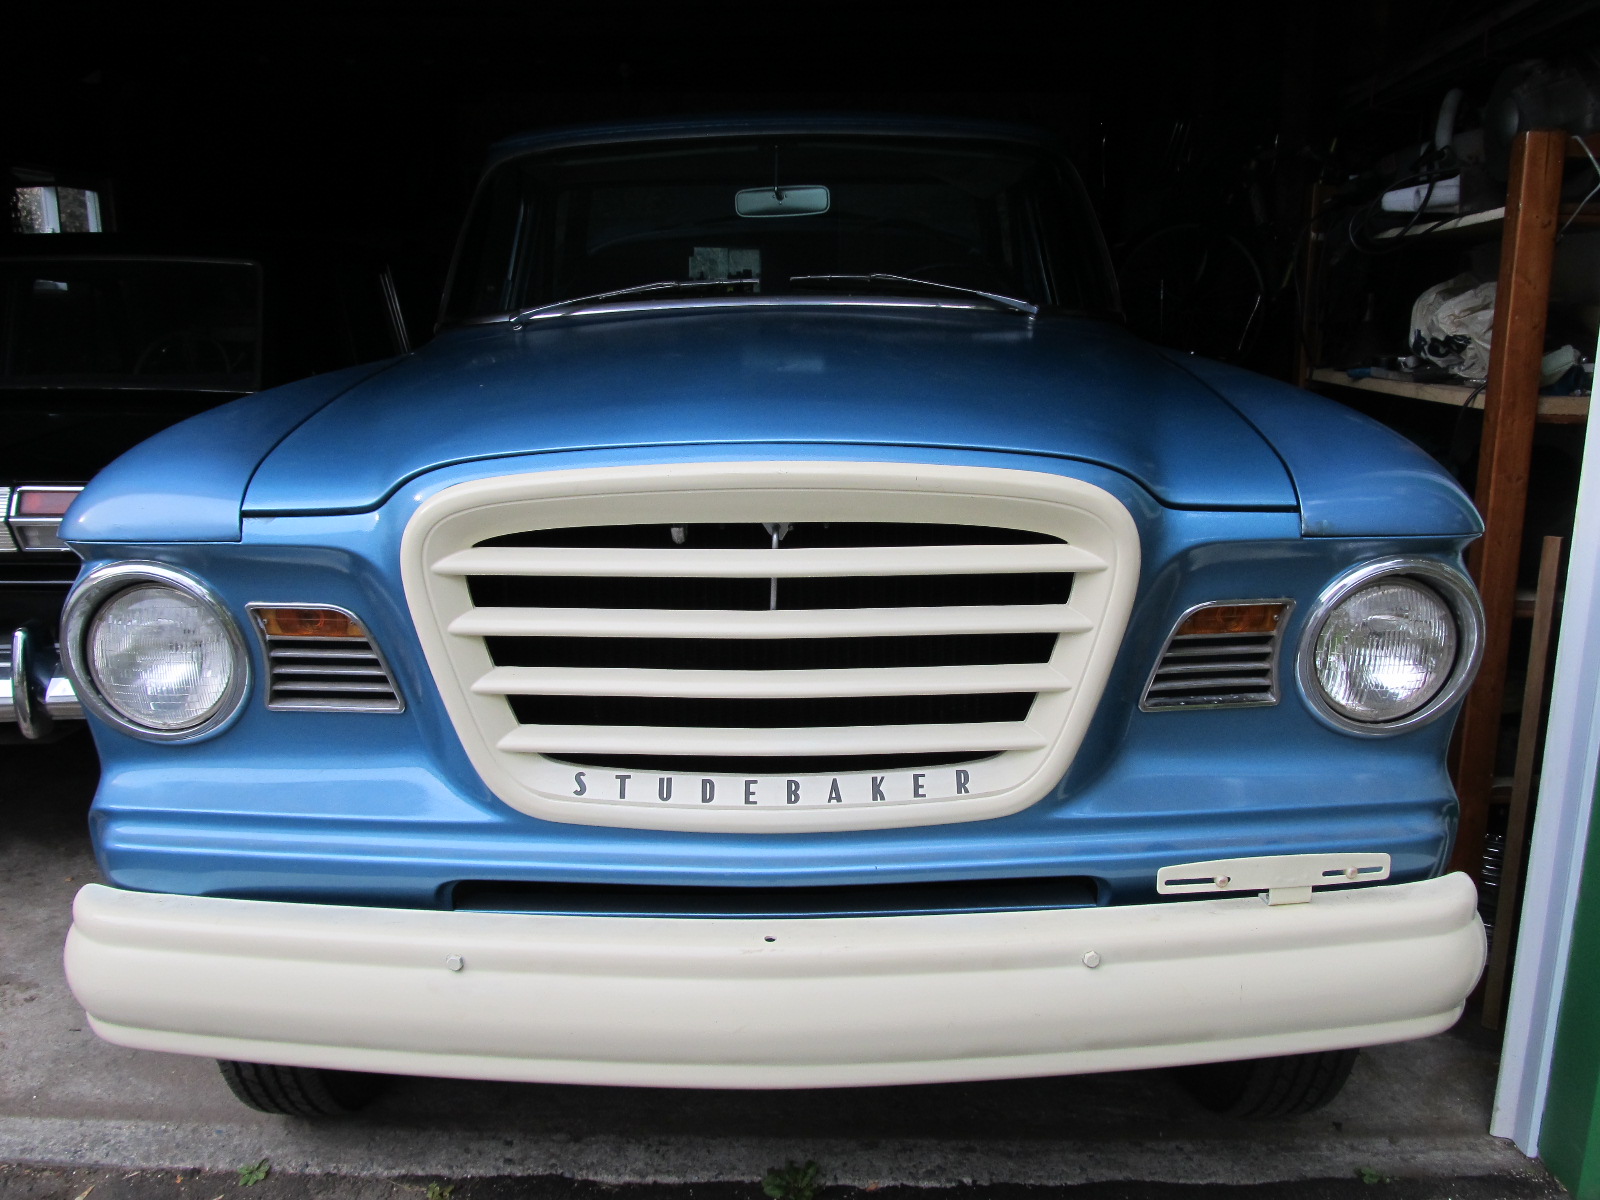
Studebaker Garage

1963 Champ - Restoration

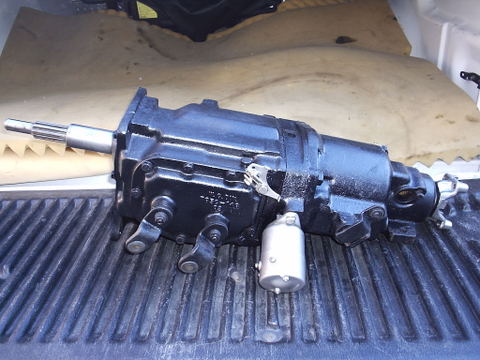
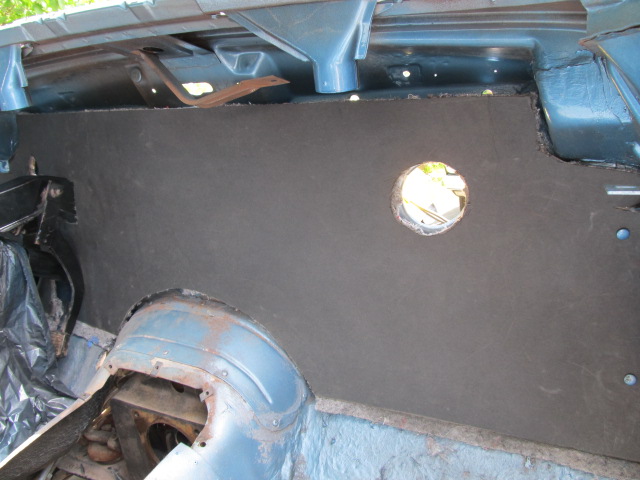
            The following Maintenance or restoration was completed in preparation of getting this vehicle ready for a Safety Inspection. Always ensure to follow the Studebaker Shop Manual close by for quick reference. In addition Chassis and Body Parts books should also be purchased to ensure you have all necessary parts to carry out your restoration. Many persons try to slap a project vehicle together without doing their homework or research and soon find out that they wasted much time and many more $$$ then necessary due to their lack of knowledge or expertise.
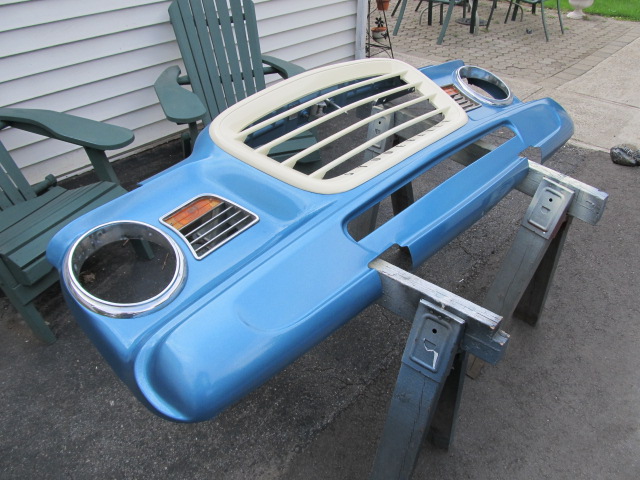
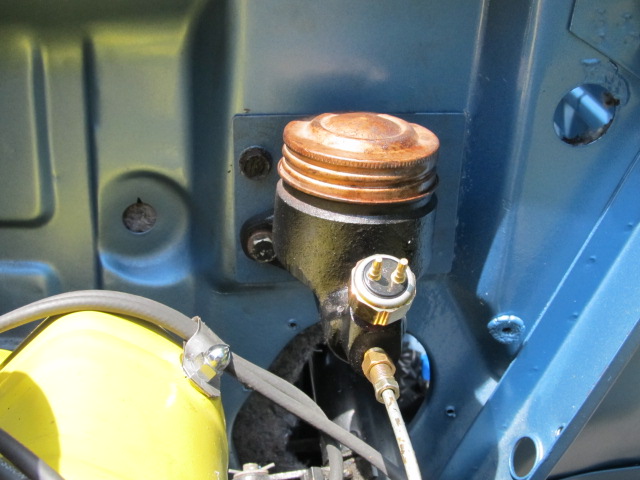
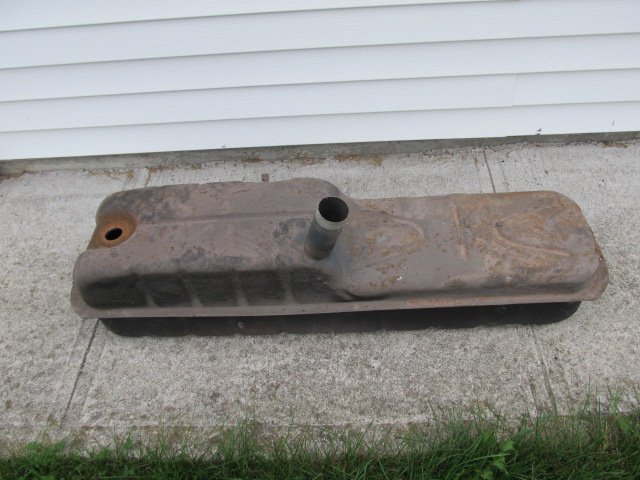
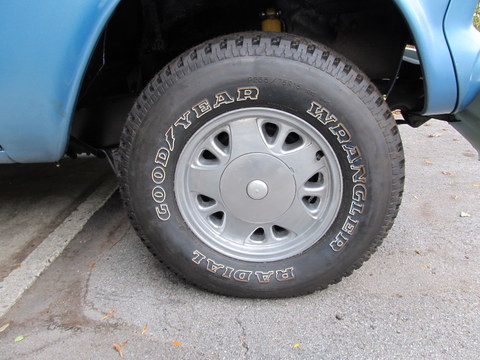
SERIAL TASK/FAULT WHAT I DID REMARKS
1 Take total Parts inventory Identified and listed all parts that came with vehicle and made up list of parts needed from Chassis/Body Books. Identified exact cost and vendor that had these parts. Put on EXCEL spread sheet Vehicle was off the road for 31 years and was mostly there but needed to identify all parts that I had and what parts needed to complete restoration.
2. Inspected & rebuild Vehicle Brakes Loosen all wheel nuts, put up on jack stands. Removed Front Drums and one at at time remove springs, brake shoes and wheel cylinder parts. Inspected wheel cylinders, They were like new so I just honed them out. I cleaned them out with brake cleaner and rebuild with new wheel cylinder kits making sure all parts were in the right order. Checked Bleeder screw to ensure it can be loosen off in prep for Bleeding. Checked Brake shoes and found them to be thick and in good condition. Painted the backing plate and metal portion of Brake shoes. Replaced any rusted or worn springs, guide pins or retainer clips. Checked Brake drums and found them to be in good condition. cleaned, painted and reinstalled them.   
3. Inspect and/or replace all brake lines Check all Brake lines and any sign of rust or kinks then they were replaced. Replaced two brake lines 
4. Replaced Tires Present tires were old and cracked. Replaced with newer, better tires. Rims are 5 inch wide and installed  P205 R75 15 tires which will pass inspection  
5. Replaced broken Transmission shift rod Rather then buying a new shift rod for the T-85 Transmission I took a spare NOS Shift Rod and put in a vice to bend it the same way the broken one was shaped. I matched up the new rod and installed it with a new swivel, washer and cotter pin. The NOS Transmission Rod was the same  as the broken one in length except it was bent for use in another Transmission/vehicle model
6. Repaired Steering post Steering Wheel nut threads Threads that would attach the steering wheel were stripped. Purchased a 5/8 in by 18 Thread Hexagon Die and repaired threads to ensure that It could attach the Steering Wheel Although the tool cost $39 it would of cost me around $130 and much time to replace the Cam & Post. Repair works fine and nicely restored the threads
 

7.


Installed Horn Cable (Wire) in Steering column Took a thin straighten Coat hanger from the bottom and inserted into Horn Cable hole and put up until it made it's way up the Steering post hole. Find rust and cleaned out the tube and Steering post. I then pushed up the Horn Cable (wire up from the bottom with no connector. I experienced no problems and was able to push all the way until it came out of the Steering Post inside the Cab I crimped new connections at each end in preparation for hookup to the wiring harness and horn push button switch
8.


Installed wheel stud Found one stud was stripped on front Left wheel drum. Jacked up vehicle and removed tire. Removed brake drum nut and drum. Attach Nut to stripped Stud and pounded it out gently but firm. Take new stud and push in and tap it into the hole all the way ensuring it goes in straight. Reinstalled Drum and wheel Used 1/2 T Truck Stud  Part # 523702
9.  

Restored P2 Box


I have two P2 Boxes (8ft long) which came with the truck. I choose one to restore and will sell the other. The one I plan to restore required Tailgate Hinges which I acquired. It required Body work from deep scratches and small holes. I used Strand reinforced Fiberglass to fill in all scratches and small holes. The remainder I patched with real metal. I have sanded and primered the whole box and I intend to resand and primer/paint the box in Blue Mist metallic which is the original 1963 Studebaker colour. I recently removed the old box on the truck and installed the restored P2 box on the truck. Many Studebaker Truck Owners prefer the P1 Shortbox available from 1949-62 but since the wheelbase is 122 in it will not fit on my truck.
10.  

Installing Truck Tailgate Chains


Both chains had to be replaced with 24 links of 3/16 inch chromed chain each side. I found some snaplinks and ground off the spring gate and hammered the end around the last link while grounding off the other end to allow for easy removal of hook. You will need 2 snaplinks with  screwgates or chain connectors to join the chain to Brackets. This is a strong inexpensive solution as I was unable to find any new or NOS chains available  Total cost was only $10 as I had some original chain connectors. You will also need canvas  chain covers to save your paintjob


11.


Install Tailgate Seems easy enough but this box had rust problems in the area of both tailgate hinges. You need to cut out the rusted area and weld in new metal. The bolts are 3 - 8ths fine thread so you will have to at least tap out the threads in the Hinge Brackets. I had to also remove old broken bolts and use new ones. I had a NOS tailgate to install but it was initially very tight and the brackets didn't line up. The welding in the box had changed the tailgate opening so I got a Tube jack with a two by four and opened up the back of box so the hinges on the tailgate fit the brackets on the box. This worked very well as the tailgate fits like a glove now Some of these P2 Box parts such as brackets or hinges are hard to get as they are not remanufactured and you wil have to use good used or NOS parts
 

12.


Re-enforce Master Cylinder Firewall area

In all Champ Trucks that have Standard Transmission the constant movement of the Clutch pedal will sometimes crack the firewall around the Master Cylinder. It is not strong enough to take the constant movement and needs to be re-enforced by making a special plate and also by welding the cracks. Ensure to use a minimum of 16 Gauge metal for plate. If it bends by hand it's too thin. Also not too thick though as this will effect the mounting distance between the Master Cylinder and firewall
 

13.


Installed Cylinder Heads, Rocker Arms, Push rods, Valley Cover   When I purchased the Champ it only had a short block which did turn over and looked in good condition. All of the other parts were sitting in the cab or pickup box. I thoroughly checked all parts to ensure they were serviceable. I installed rebuild cylinder heads with new valves and stem seals. One valve seat also had to be replaced. All new gaskets were used to include head,  valley & head covers. Used Loctite Aviation gasket sealant since Perfect Seal is no longer available. Checked all lifters for cracks and oiled prior to  re-installation. Checked Dowel pins for fit and roundness. I lubed cylinder walls with oil while turning over engine to work the oil in and ensured that Head gaskets were installed "This Side Up". Clean all Head bolts (Wire Brush or die if required) & block threads with thread chaser/tap if required. Used anti-seize on bolts when installing. Installed rocker arm assemblies with straight push rods. Push rods installed with rounded shiny end up. Torqued Heads in proper sequence as per manual up to 40 lbs, then 50 & finally 60 ft lbs. Following Engine Firing order I turned engine over gradually and adjusted all valve clearance to 26 thousands of an inch three times to ensure that no pushrods were loose or were too tight in prep for engine startup. Installed Valley cover while ensuring to put copper washers on all 3 bolts & new gasket. Installed valve covers with new gaskets, oil filler caps and acorn nuts

Note: Read & follow your shop manual completely to ensure you have assembled your engine in proper sequence and adjusted such things as the valve clearance.

When rebuilding the engine it could cost you up to $5000+ to do a complete rebuild. A complete rebuild may not be needed as sometimes the motor only needs new rings or a valve job but even this will cost $1000+  depending on what is required. Ensure your machine shop knows Studebaker engines as I had one that forgot to install valve stem seals even after I supplied the parts. Getting a good used motor is another option but buyer beware as many people say the motor worked fine but in reality is just another motor in need of a rebuild. Best to hear it run before buying, check for cleanliness proper assembly. If all you are looking for good used engine parts then pay accordingly (Core Value)  I have paid as little as $100 up to $250 for used V8 engines. They are worth that in parts alone but remember a 45-50 yr old motor will always need some sort of machine work.  
14.


Installed Distributor. Intake Manifold 2 BBL Carb, PCV Valve  Water Manifold, Thermostat, Fan and spark plug wires


Totally rebuild Distributor to include new rotor, condensor, distributor cap and points. Inspected gear teeth and oil pump end to ensure in good condition. Followed installation procedures as per manual. Use timing light to adjust timing. Ensure new distributor seal installed so their are no oil leaks. Lubricate Distributor with engine oil through access hole (just a few drops) Ensure Points gap is exactly at .020 of an inch.   
15.  

Inspected Transmission


Removed Transmission to inspect and take to shop if required. It was very dirty and needed to be inspected to ensure it worked properly. Removed with floor jack after I removed the four front bolts connected to the bell housing. This allows you to also inspect the clutch assembly and throw out Bearing. Ensure you get a quote before you let the Transmission shop repair as this can get costly. Replace all fluids with new GL-1 Gear Lube when the transmission is out and on the floor upon return from shop. Have some help with installation as the transmission is heavy and you need someone to help hold it in place from the top with a rope through the floor panel. Transmission was found in great condition but needed a complete cleaning out as it was dirty and had 31 years of residue in it. It was completely rebuild and filled up with new GL-1 Trans Fluid 
 

16.

Painted Front Cab In order to install engine compartment parts and inside the interior I needed to paint the front cab both inside and out. I bought 1 gallon of Studebaker P6354 Blue Mist Metallic and used my compressor with a HVLP Spray gun. Preparation is everything and makes the difference between a poor or good paint job. If not familiar with painting then get it done by someone who does. I painted the Cab with two coats and used 400 grit wet/dry between coats.  If you need another coat then do it now. Once dry you can start to install the many engine bay and interior parts.  
17. Installed Firewall Insulation pad Need to install Firewall insulation pad on the inside of the cab next to the firewall to stop engine heat from entering the cab and also help to fireproof it. Get a large piece of cardboard and cut out pattern before you cut the Insulation to ensure you don't cut the pad improperly. To cut the large heater hose holes use the proper Household Heater vent hose drill hole cutter to get a clean cut. To cut the other smaller holes and also the ends use a aircraft cutting shears. Once fitted use the 7 clips that secure it from the inside to the firewall.
18. Installed Master cylinder and suspended Pedal assembly*


*This procedure is for 1963-64 models only

Install new or reconditioned Master Cylinder on firewall using bracket in section 12 above. Secure 4 bolts with washers to suspended pedal assembly on the inside. 
 

19.

Attached Front Fenders Attached Front fenders with help as this is a two person job. Each fender needs 2 threaded bolts (top & bottom), 4 threaded screw bolts with washer (bottom & inner fender) & 3 x Fender Shims. Try fender for fit and remove any imperfections on the cab body to ensure proper fit. Have helper hold fender in place firmly and bolt top of fender in cab ensuring that the shim is in place. If more shims are required do so to ensure the the gap between the door and fender is big enough to ensure smooth opening and closing of the door. Bolt in the two other bolts and also the 3 bolts for the inner fender.  Snug up alternately until the top of the fender is in line with the cab and also a maximum gap of approx 3/16 of a inch. Tighten all bolts until very tight and check alignment of all parts to ensure it is fitted properly
20. Attached Radiator Support Bracket & Radiator Once the front fenders are properly lined up and secure then you can proceed in attaching the two fenders together at the front with the Radiator support bracket. You will need help with either a cargo strap or a helper so you can bring the two fenders close enough so they line up with the bolts holes in the front. Install the six bolts with washers/nuts securely. Tighten and then install radiator by inserting 6 radiator bolts on the inside. These may be difficult if using non EOM bolts as the stock bolts have a smaller nub on the end which makes it easier to insert in the hole and tighten up. I had to tap the bottom bolts in slightly to get them started. Once the radiator is secure you can install the radiator hoses top and bottom. Ensure to use new hoses with springs inside along with new clamps.


1963 Champ